 how-to
How to Winterize Mini Split Systems for Cold Weather
Last Updated: October 30, 2026
Quick Summary
To winterize mini split systems, clear the outdoor unit and coil, flush the base-pan drain holes, trace the condensate line, check refrigerant line insulation, clean indoor filters, and set a steady temperature. Never cover the outdoor unit during winter operation, since it needs open airflow on all sides.
- Keep at least two feet of open space on all sides of the outdoor unit, and more on the fan discharge side.
- Pour a cup of water into the base pan to confirm the drain holes flow away from the unit.
- Clean or replace every indoor head's filter and repeat it monthly through the heating season.
- Run the system for 15 minutes and confirm warm air comes out of every indoor head.
- Never chip, scrape, or pry ice off the unit; sharp tools puncture coils and refrigerant lines.
Table of Contents
- How to Winterize Mini Split Systems: A Step-by-Step Checklist
- Step 1: Pull the manual and confirm your model's cold-weather limits
- Step 2: Clear the area around the outdoor unit
- Step 3: Inspect and clean the outdoor coil
- Step 4: Test the base pan and drain path
- Step 5: Trace the condensate line end to end
- Step 6: Check the refrigerant line insulation
- Step 7: Clean or replace indoor filters
- Step 8: Confirm elevation and snow clearance
- Step 9: Set controls for steady heating
- Step 10: Run a heating test and log the result
- Step 11: Schedule follow-up
- Should You Cover a Mini-Split Outdoor Unit in Winter?
- How to Prevent a Mini-Split From Freezing Up
- What the Mini-Split Defrost Cycle Does in Cold Weather
- Mini-Split Outdoor Unit Snow Clearance and Airflow
- Safe Ice Removal, Condensate, and Drainage Management
- When to Call Air CareSaver for Winter Mini-Split Service
- Frequently Asked Questions
How to Winterize Mini Split Systems: A Step-by-Step Checklist
Learning how to winterize mini split systems starts with one key fact: a ductless heat pump is built for cold weather, but it still needs help from you.
Below is an ordered winterization procedure for mini-split systems. Time required will vary by system and property.
Mini-split winterization is the process of preparing a ductless heat pump for cold weather by clearing the outdoor unit, checking drainage, confirming settings, and inspecting components before freezing temperatures arrive.
Step 1: Pull the manual and confirm your model's cold-weather limits
Before you touch anything, find the installation or owner's manual for your exact model. You are looking for three things:
- Minimum outdoor operating temperature in heating mode. Standard and cold-climate mini-split models have different minimum outdoor operating temperatures, so check your manual for the rating. If your model's rating is above your typical winter lows, plan to use it as a supplemental heat source.
- Defrost behavior and expected cycle timing. The manual states how the system detects frost and roughly how often defrost should occur.
- Base-pan heater availability. Some models include a factory base-pan heater or offer one as an accessory; others do not. It keeps meltwater from refreezing in the pan and is the most useful cold-climate add-on for units that support it.
Write down your model number and rated low temperature. If the manual is lost, the model plate on the outdoor unit and the manufacturer's website will get you the same information.
Step 2: Clear the area around the outdoor unit
Remove leaves, stored items, and debris. Keep at least two feet of open space on all sides, more on the fan discharge side. Watch for plants that will grow into that space by midwinter and downspouts that dump water near the unit.
Step 3: Inspect and clean the outdoor coil
Look for bent fins, dirt buildup, and visible damage. Gently rinse from the inside out if it's dirty. If the coil is packed with debris, consult a qualified technician.
Step 4: Test the base pan and drain path
Clearing the base-pan drain is an important step in preventing winter ice problems. Clear debris from the base-pan drain holes, then pour a cup of water into the pan and watch where it goes. It should exit the drain holes and run away from the unit and foundation. If water pools, the holes are clogged or the unit is not pitched correctly.
Step 5: Trace the condensate line end to end
The drain hose should slope downward with no kinks, and the end should stay clear of snow and ice. In heating mode, mini-splits produce condensate that has to escape; a frozen or clogged line backs water up indoors or ices over the base pan. If the line runs outdoors, confirm the termination point is above typical snow depth.
Step 6: Check the refrigerant line insulation
Insulation should be intact with no cracks, gaps, or exposed copper. Cracked insulation lets cold air reach the copper and causes frost. Replace any damaged sections before the cold sets in.
Step 7: Clean or replace indoor filters
A clogged filter chokes airflow and makes the system work harder. Clean or replace every indoor head's filter, and note the date so you can repeat it monthly through the heating season.
Step 8: Confirm elevation and snow clearance
If the unit sits at or near grade, a wall bracket or stand keeps it above typical snow depth. Mark its location with a stake so you can find it after a heavy storm, and plan to clear snow after every snowfall, not just once a season.
Step 9: Set controls for steady heating
Pick a steady temperature and leave it there. Short on-off cycles in cold weather encourage frost buildup, and constant setbacks force the system to run harder to recover.
Step 10: Run a heating test and log the result
Run the system for 15 minutes and confirm warm air comes out of every indoor head. Note the outdoor temperature and how long it takes to deliver heat, that baseline is your reference point if something feels wrong in January.
Step 11: Schedule follow-up
Put two reminders on your calendar: a monthly filter check and a midwinter outdoor-unit inspection after the first hard freeze. If ice keeps returning after you clear it, the problem is usually mechanical, not weather-related, that is a job for a technician.
If you want the full maintenance picture beyond winter prep, our guide on how to maintain mini split systems covers the rest of the year. And if you'd rather see how winterizing fits into overall system prep, read our breakdown on how to prepare your HVAC system for winter.
Should You Cover a Mini-Split Outdoor Unit in Winter?
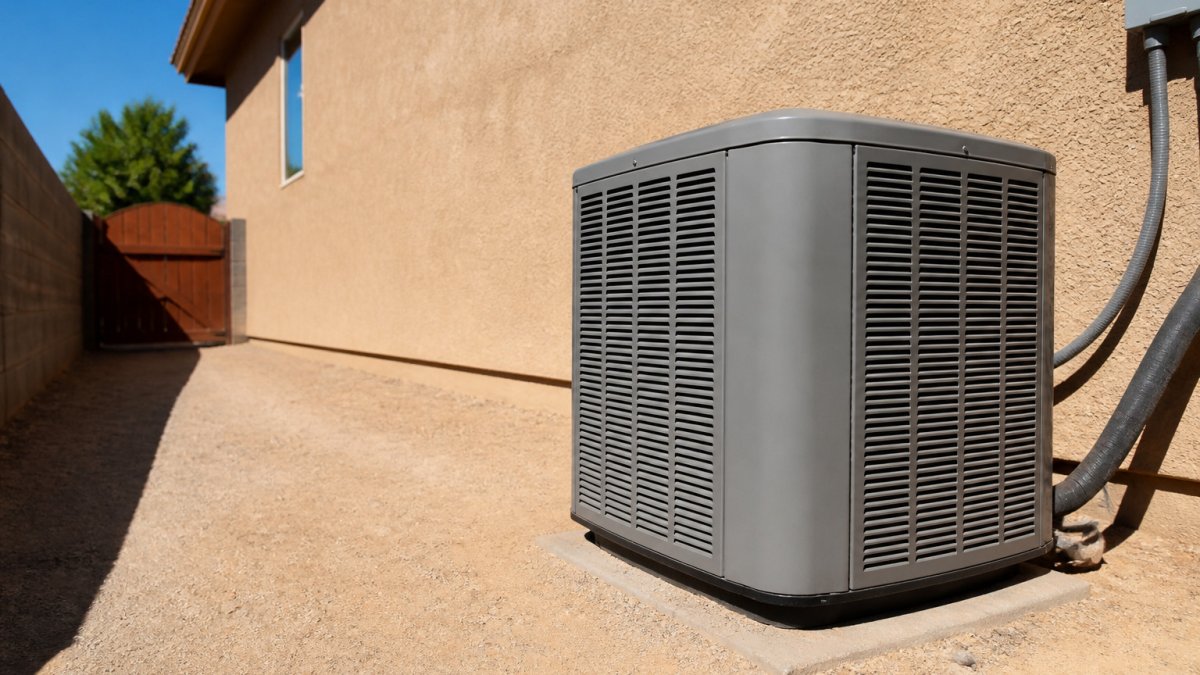
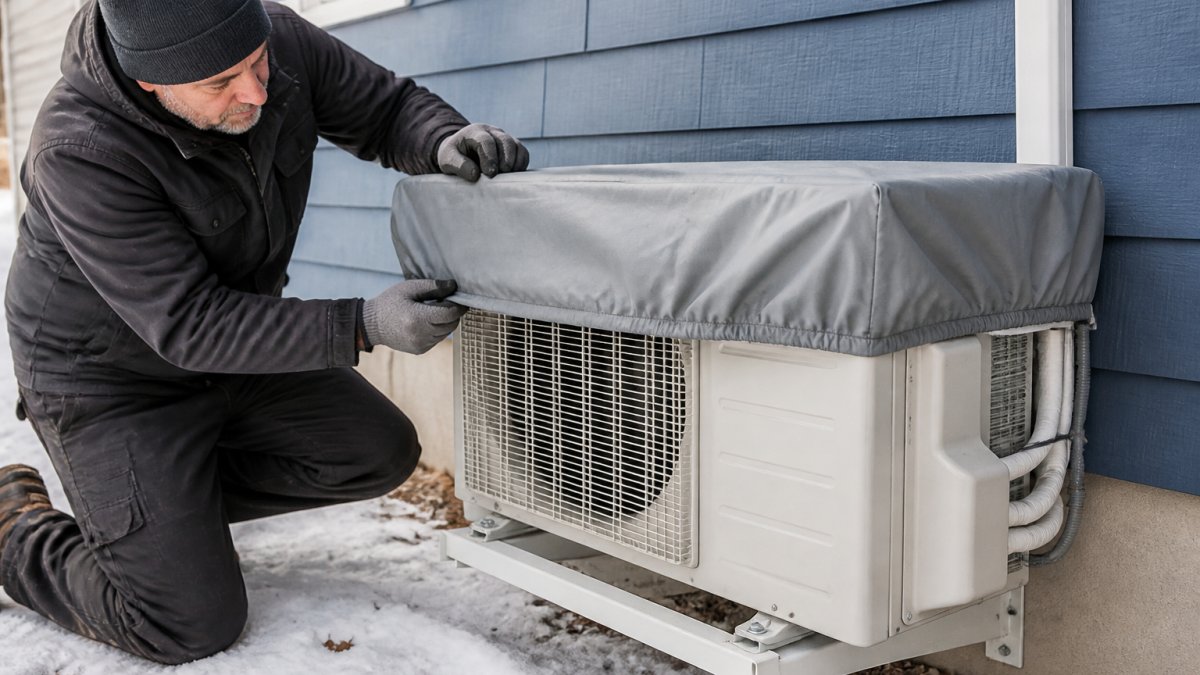
No, you should not wrap or cover a mini-split outdoor unit during winter operation.
This is one of the most common mistakes we see: homeowners assume snow means the unit needs protection, but the opposite is true.
A few things to know:
- Never run the system with a cover on. That's a fast path to compressor damage.
- A loose roof shield is fine. A small overhead deflector that keeps snow and icicles off the top is acceptable, as long as air flows freely on all sides.
- Skip the tarp entirely. Plastic traps condensation and invites rust.
The outdoor unit is designed to sit in the weather. Your job is to keep it clear, not covered.
How to Prevent a Mini-Split From Freezing Up
The best way to prevent a mini-split from freezing is to protect airflow and drainage.
Watch out: the most common cause of a frozen outdoor unit is a clogged drain hole. Water collects, freezes, and backs up into the coil.
Here's what actually helps:
- Keep the coil clean. Dust and pollen insulate the fins and slow heat transfer.
- Clear the base pan regularly. Check it after every storm.
- Don't block the fan. Furniture, plants, and snow piles all restrict airflow.
If ice keeps returning after you clear it, the problem is usually mechanical, not weather-related. That's a job for a technician.
What the Mini-Split Defrost Cycle Does in Cold Weather
The defrost cycle is a built-in mode that temporarily reverses the system to melt frost off the outdoor coil. Defrost timing varies by model, and the manufacturer's manual states the expected behavior. The exact timing varies by model, your manual states the expected behavior, and that is the benchmark you should judge against.
Here's what happens during a normal defrost:
- The system switches to cooling mode briefly.
- The outdoor coil warms up and melts the frost.
- The indoor fan stops so you don't feel cold air.
- Steam or water may appear near the outdoor unit.
- The system returns to heating mode.
Seeing steam, hearing a whoosh, or watching water drip during defrost is normal. So is a short pause in indoor heating.
Normal defrost vs. a fault: how to tell the difference
The hard part for homeowners is knowing when to wait and when to call. Use these distinctions:
| Symptom | Usually normal | Usually a fault |
|---|---|---|
| Indoor fan pauses | Brief pause during defrost, then heat returns | Cold air for more than a few minutes after defrost ends |
| Outdoor unit noise | Whoosh or hiss at defrost start and end | Grinding, rattling, or repeated loud clicks |
| Ice on the coil | Light, even frost that clears each cycle | Thick ice that persists or grows across cycles |
| Water near the unit | Dripping during and after defrost | Pooling that refreezes in the base pan |
| Error codes | None | Any code shown on the indoor or outdoor unit |
| Defrost frequency | Varies by model; see the manual | Runs constantly or never runs in freezing conditions |
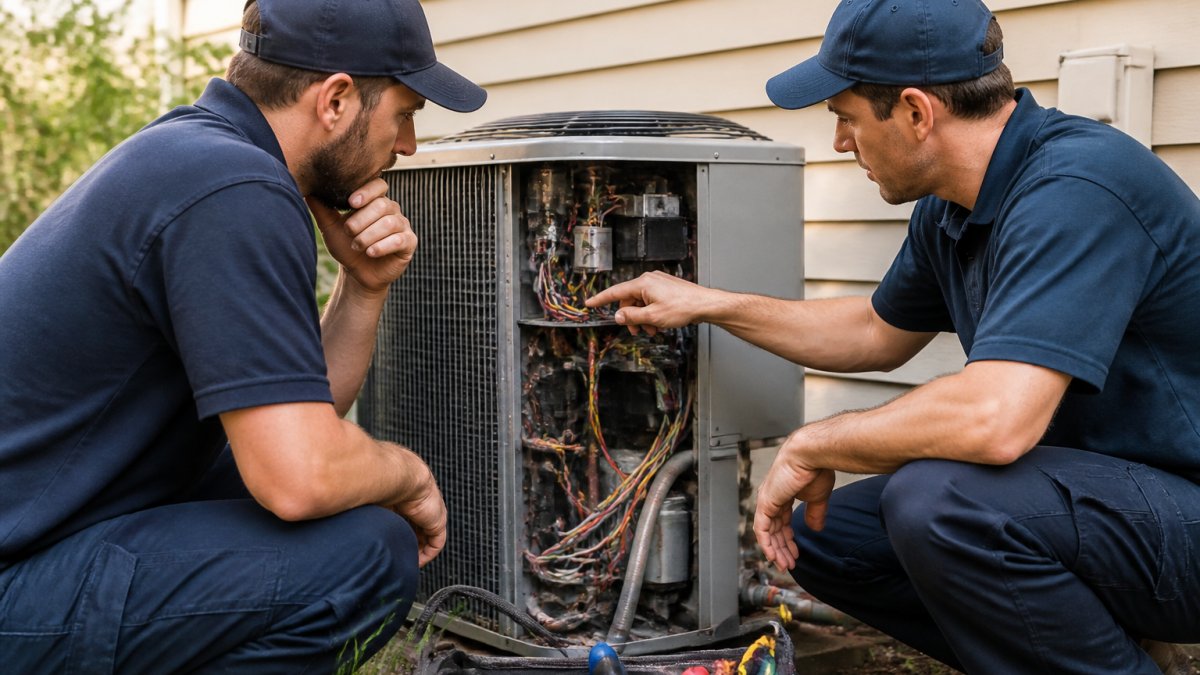
A common pattern is frost that clears on schedule in mild cold but builds up during long damp spells, that is normal. Persistent ice, error codes, unusual noise, or reduced heat that does not recover after a defrost cycle point to a sensor, valve, or control board issue. Call a technician rather than waiting it out.
Model-specific checks worth doing before winter
Not all systems behave alike, and the manual is the authority for yours:
- Confirm the defrost initiation method. Some systems use a temperature sensor on the outdoor coil; others use demand-based logic that counts runtime and outdoor temperature. The manual tells you which, and that affects how often you should expect a cycle.
- Check whether a base-pan heater is installed or available. Without one, meltwater can refreeze in the pan and interfere with defrost. If your model supports one, winter is the time to confirm it is working.
- Note the low-temperature lockout. If the system has a lockout below a set outdoor temperature, defrost behavior changes near that threshold. Know the number so a sudden change does not surprise you.
If ice keeps returning after you clear it, or defrost runs nonstop, a qualified technician can diagnose the component at fault.
Mini-Split Outdoor Unit Snow Clearance and Airflow
Snow clearance is simple: keep the top and sides of the outdoor unit free of snow, and never let drifts bury the coil.
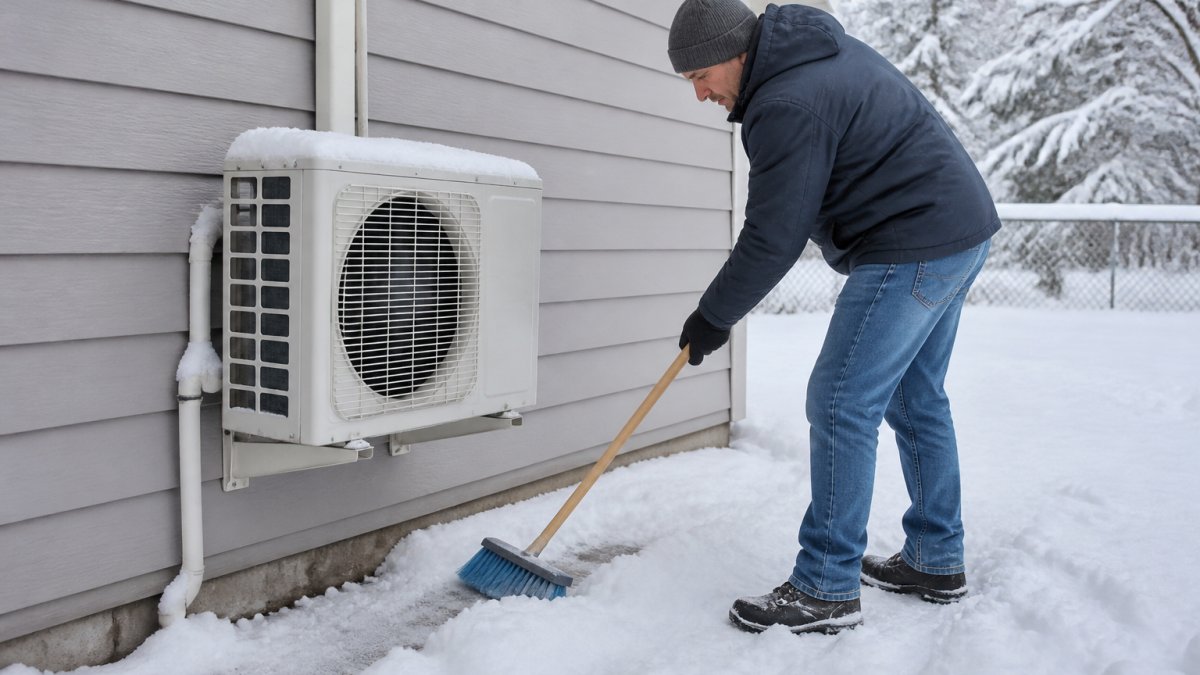
A few practical rules:
- Two feet of clearance on all sides is the baseline. More is better.
- Raise the unit if needed. A wall bracket or stand keeps it above typical snow depth.
- Mark the unit's location with a stake so you can find it after a heavy storm.
If your coil is dirty or packed with debris, our guide on how to clean outdoor AC condenser coils walks through the safe way to do it without bending fins.
Safe Ice Removal, Condensate, and Drainage Management
Ice removal has one hard rule: never chip, scrape, or pry ice off the unit. Use warm water, a gentle thaw, or call a technician.
Here is a general comparison of ice-removal methods:
| Method | Safe? | Why |
|---|---|---|
| Warm water poured around the base | Yes | Melts ice slowly without damage |
| Broom to brush off loose snow | Yes | No contact with the coil |
| Turning the system off to thaw | Yes | Lets ice melt naturally |
| Chipping with a screwdriver or knife | No | Punctures coils and lines |
| Rock salt or de-icer on the unit | No | Corrodes metal and fins |
| Hot water directly on the coil | No | Thermal shock can crack components |
Drainage matters just as much. In heating mode, mini-splits produce condensate that has to escape.
Check these points:
- The drain hose should slope downward with no kinks.
- The end of the hose should stay clear of snow and ice.
- The base pan holes should be open and free of debris.
A frozen drain line is one of the easiest winter problems to prevent and one of the most annoying to fix after the fact.
When to Call Air CareSaver for Winter Mini-Split Service
Air CareSaver is a family-owned business with 21+ years of licensed experience (#1054832). We offer same-day response and free estimates.
If you're unsure whether an issue is urgent, our guide on signs your HVAC needs emergency inspection helps you decide.
Winter doesn't have to mean surprise breakdowns. A little prep in the fall goes a long way.
Frequently Asked Questions
Do you have to winterize a mini-split air conditioner?
Yes, and it is mostly about the outdoor unit. A ductless heat pump runs in heating mode all winter, so winterizing means clearing snow and ice, keeping clearance around the cabinet, checking the base pan and drain line, and confirming the defrost cycle works. If you use the system only for cooling, shut it off at the breaker and cover the top of the outdoor unit loosely so moisture drains. Either way, inspect the outdoor coil and clean the indoor filters before the first freeze.
Should I cover my mini-split compressor in winter?
No. A heat pump in heating mode needs airflow through the outdoor coil, and a cover blocks it, which raises energy use and can trip the system off. Only cover a unit that is fully off for the season, and then use a breathable cover that leaves the sides open. Never wrap the cabinet in plastic or a tarp. For a system still heating your home, leave the outdoor unit uncovered and clear snow by hand instead.
How do you remove ice from a mini-split outdoor unit?
Turn the system off at the thermostat first. Then use warm water from a watering can, never boiling, to melt ice off the coil and base pan. Never chip ice with a screwdriver, knife, or hammer, and never pour antifreeze or salt around the unit. Clear snow with a soft broom or by hand. If ice returns within a day or two, the defrost cycle or base-pan heater may be faulty, and that is a job for a licensed technician.
Do mini-split systems work in cold weather?
Yes, cold-climate ductless heat pumps heat homes well below freezing, and many models are rated for heating at low outdoor temperatures; check the model's stated operating range. Output drops as outdoor temperature falls, so sizing and heat load matter. Check the model's operating range and AHRI number, and plan supplemental heat for the coldest nights. If the unit runs constantly, blows cold air, or ices over repeatedly, call for diagnostics rather than guessing.
Cold weather exposes weak points in any heating system, and a mini-split is no exception. Air CareSaver brings 21+ years of licensed experience, same-day response, and free estimates to every winter service call. We diagnose the real issue, explain your options, and get your heat running again without guesswork. Get started with Air CareSaver and keep your home comfortable all winter long.