 how-to
7 Steps to Improve Airflow in Old HVAC Ducts
Quick Summary
To improve airflow in old HVAC ducts, start with cheap checks: replace the filter, clear blocked vents, and inspect for leaks, crushed runs, and disconnections. Then seal joints with mastic or foil tape, restrap flex duct, and balance dampers between rooms.
- Replace a clogged air filter first, since it alone can sharply cut airflow.
- Seal duct joints with UL-rated foil tape or mastic, because duct tape dries out and fails.
- Restrap flex duct so it is fully stretched and supported every few feet.
- Measure airflow room by room before changing anything, so you know where the problem is.
- Consider a duct booster fan only after the ducts are sealed and the system has enough capacity.
Table of Contents
- Why Old HVAC Ducts Lose Airflow
- Step 1: Check Vents, Registers, and Filters for Obstructions
- Step 2: Inspect Ductwork for Leaks, Crushed Runs, and Disconnections
- Step 3: Measure Airflow Before Changing Anything
- Step 4: Seal, Restrap, and Insulate Old Duct Runs
- Step 5: Adjust Dampers and Balance Airflow Between Rooms
- Step 6: Fix Weak Airflow Upstairs and in Distant Rooms
- Step 7: Decide Whether a Duct Booster Fan Is Worth It
- Frequently Asked Questions
Last Updated: November 4, 2026
Old HVAC ducts quietly steal comfort from your home, and most homeowners never see the cause. Airflow problems in older homes often come from a handful of fixable issues, not a failing system. This guide walks through seven steps to improve airflow in old HVAC ducts, in the order a licensed technician would check them.
Air conditioning accounts for approximately 37% of a building's total energy consumption, according to PMC study on optimizing mechanical ventilation in air conditioning systems. When air can't move freely through ductwork, the system works harder and still leaves rooms hot. Fixing airflow is often the cheapest way to get comfort back.
Why Old HVAC Ducts Lose Airflow
Airflow drops when ducts leak, sag, crush, or get blocked over time. Uneven cooling in two-story homes explains why this often shows up upstairs first. Age makes each problem more likely.
Common causes include:
- Leaks at joints and seams where tape or mastic has dried out
- Crushed or kinked flex duct in tight attic spaces
- Disconnected runs that dump air into walls or insulation
- Undersized ducts that never moved enough air for the home
- Dust buildup that narrows the duct and clogs registers
Duct retrofits in existing homes can measurably improve indoor air quality and occupant comfort, according to Oak Ridge National Laboratory duct retrofit case studies. The good news is that most of these problems respond to simple, targeted repairs.
Step 1: Check Vents, Registers, and Filters for Obstructions
Start with the cheapest fixes. Walk through the house and check every supply register and return vent.
- Confirm that furniture, rugs, and drapes are not blocking any vent.
- Open the registers fully and make sure the dampers are not closed by accident.
- Pull the air filter and hold it up to light. If you can't see through it, replace it.
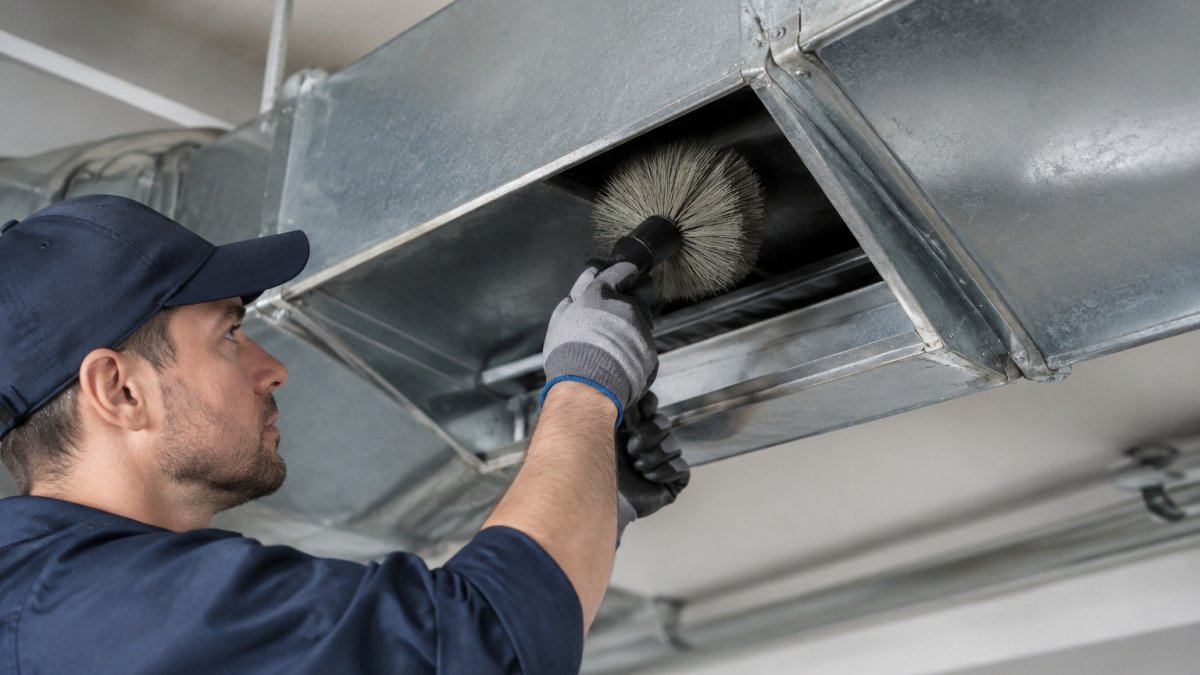
- Vacuum dust from the register openings and the first few inches of duct you can reach.
A clogged filter alone can cut airflow sharply. Our guide to cleaning HVAC air filters properly covers the correct method. Replacing it is a quick test you can run, and it costs little.
Watch out: Never run the system with the filter removed to "test" airflow. Dust goes straight into the blower and coils.
Step 2: Inspect Ductwork for Leaks, Crushed Runs, and Disconnections
Next, look at the ducts themselves. An attic or crawlspace inspection shows most problems.
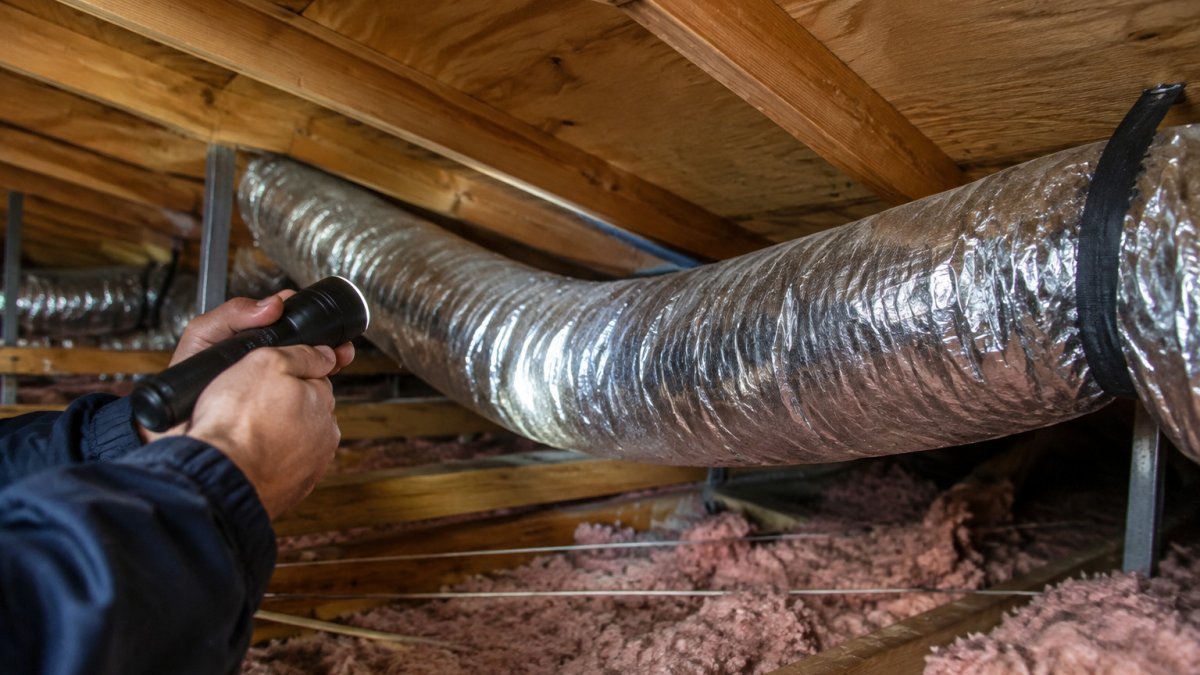
- Look for flex duct that sags between joists or pinches under insulation.
- Check every joint for gaps, loose clamps, or missing tape.
- Feel for cool air leaking near seams while the system runs.
- Follow each run to its register and confirm it still connects.
Professional duct inspections are the main way technicians find airflow obstructions like kinked or twisted ducts in older systems, according to One Hour Heating & Air Conditioning duct inspection guide. If you're weighing whether professional duct cleaning is worth arranging, that page explains what it addresses. If you can't safely reach the ducts, a technician can do this inspection quickly.
Step 3: Measure Airflow Before Changing Anything
Guessing wastes money, and on old ducts it can make things worse. Measure first so you know whether the problem is a single weak branch, a restricted main trunk, or a system that was never sized for the house.
Airflow is usually measured in cubic feet per minute, or CFM. A technician uses a flow hood over each register or an anemometer held at the grille face to estimate how much air each room receives.
What the numbers mean:
- Room-to-room spread. A wide spread between the strongest and weakest register often points to balancing, a kinked branch, or an undersized run. A gap that wide points to balancing, a kinked branch, or an undersized run rather than a failing blower.
- Whole-house low readings. If every register reads low, suspect a clogged filter, a dirty evaporator coil, a collapsed main trunk, or a blower issue before you blame the branch ducts.
- Distant rooms lowest. Rooms at the end of long runs and upstairs rooms typically read lowest. That is a pressure problem, not necessarily a duct-size problem.
Static pressure is the other half of the picture. A technician taps the supply and return plenums with a manometer to read total external static pressure.
Keep a simple log: register location, reading before the fix, the fix you made, and the reading after. That log is what separates a real repair from a guess, and it tells a technician exactly where to start if you call one.
Watch out: anemometer readings at a register are affected by grille design and how you hold the meter, so treat them as relative comparisons between rooms, not as absolute CFM. Only a flow hood or a calibrated duct traverse gives a number you can size equipment against.
Use these readings to tell which problem you are dealing with before you spend money on a fix.
| Reading | What it likely means | Next step |
|---|---|---|
| Wide spread between rooms | Balancing, kinked branch, or undersized run | Balance dampers, then inspect the branch |
| Every register reads low | Clogged filter, dirty coil, or collapsed trunk | Check filter and trunk before branches |
| Distant rooms lowest | Pressure problem on long runs | Check runs to those rooms for leaks and sags |
| High static pressure | Restrictions in the system | Fix restrictions before adding a booster fan |
Step 4: Seal, Restrap, and Insulate Old Duct Runs
Once you find leaks and sags, repair them properly.
- Seal joints with mastic or foil tape. Duct tape alone dries out and fails. Use UL-rated foil tape or mastic.
- Restrap flex duct so it is fully stretched and supported every few feet. Remove sags and kinks.
- Reconnect disconnected runs and secure them with proper clamps.
- Insulate exposed ducts in unconditioned spaces to reduce heat gain and condensation.
Sealing and restrapping are often the highest-value repairs for older systems. They restore the airflow the system was designed to deliver.
Watch out: Ducts in attics and crawlspaces can carry dust, insulation fibers, and sometimes mold. Wear a mask and gloves, and turn off the system before working on it.
Step 5: Adjust Dampers and Balance Airflow Between Rooms
Balancing spreads air more evenly through the house. Most systems have balancing dampers in the main trunk and branch ducts, and many registers have their own dampers.
- Close the dampers on rooms that are already too cold or too hot to shift air toward weaker rooms.
- Make small adjustments, then wait a few minutes for the system to settle.
- Retake your readings after each change and compare them with your log.
Balancing is a trial-and-error process. Expect several rounds before the house feels even.
Step 6: Fix Weak Airflow Upstairs and in Distant Rooms
Upstairs rooms and rooms at the end of long duct runs struggle most. Heat rises, and long, narrow runs lose pressure.
Start by checking the runs to those rooms for the problems in Steps 2 and 4. If the ducts are sound but the room is still weak, the system may be too small for the home or the ducts may be undersized. A technician can compare the system's capacity with the room area and duct layout.
For homes with weak airflow upstairs, a properly sized and installed system is often the lasting fix. Air CareSaver can evaluate the system and recommend the right solution for your space. ENERGY STAR guidance on HVAC sizing and airflow
Step 7: Decide Whether a Duct Booster Fan Is Worth It
A duct booster fan adds airflow to a single weak run. It can help a distant room that stays hot even after the repairs above, but on old ductwork it is often the wrong first purchase. Decide in this order: repair, then resize or redesign, then boost, then replace.
Repair first. If Step 3 showed a wide spread between rooms and Step 4 found leaks, sags, or disconnections, fix those before buying anything. Sealing and restrapping restore the airflow the system was designed to deliver, and a booster added to a leaking duct just pressurizes the leak.
Resize or redesign next. If the ducts are sound but a room is still weak, the branch may be undersized or the layout may be fighting itself. A technician can compare the system's rated capacity with the room load and the duct layout.
Boost only when the duct is sound and the system has capacity. Booster fans are usually a cost-effective option for insufficient airflow in older ductwork where full replacement isn't practical, according to Mechanical Business industry guidance on duct boosters. Keep these limits in mind:
- A booster only helps if the duct is sealed and the system has enough total capacity. If you suspect the system is undersized, how to tell if your AC unit is too small for your house walks through the check before you spend on a fix.
- Boosters add a little noise and electrical use.
- A booster can't fix undersized ducts, a failing blower, or high static pressure.
Replace when the ductwork itself is the problem. Old ducts earn replacement when you see widespread deterioration: crumbling or asbestos-containing duct board, rusted-through galvanized trunks, flex duct that has collapsed in multiple runs, or a layout that cannot be balanced no matter how many dampers you adjust.
Watch out: do not install a booster fan on a duct that has not been checked for leaks and static pressure. A booster on a restricted system can raise noise, shorten blower life, and still leave the room weak.
Frequently Asked Questions
How do I increase airflow in my ductwork?
Start with the cheap, reversible fixes: clear obstructions from supply registers and return grilles, replace a clogged filter, and confirm dampers are open. Then inspect the ducts in accessible areas for crushed flex duct, disconnected joints, and gaps at the seams. Sealing leaks with mastic or foil-backed tape and restrapping sagging runs often restores meaningful airflow in older systems. If the ducts are undersized or heavily damaged, a professional assessment will tell you whether the layout itself needs changes. Measuring airflow before and after each change tells you which fix actually worked.
Do duct booster fans really work?
A duct booster fan can push more air to a single distant room or a long run that is otherwise starved for airflow. It does not fix leaks, undersized ducts, or a weak blower, and it adds electricity use and noise. Booster fans are sometimes used as a stopgap when full duct replacement is not practical, but they work best after leaks and obstructions are addressed. Use one only for a specific problem room, and have a technician confirm it will not overload the system.
How can I tell whether my ducts need repair or replacement?
Repair is usually the right call when problems are localized: a few disconnected joints, a crushed section, or leaks at accessible seams. Replacement becomes worth considering when ducts are undersized for the rooms they serve, widespread sections are damaged or deteriorated, or the layout has been poorly designed from the start. A professional duct inspection can identify these conditions and help you compare the cost of repair against the expected gain in comfort and efficiency.
Does cleaning air ducts improve airflow?
Duct cleaning can increase airflow when heavy dust or debris is restricting the ducts, but it is not always necessary. Cleaning is best decided based on the actual contamination level rather than assumed as a routine fix. If your vents are clear and the registers are unobstructed, cleaning is unlikely to solve a low-airflow problem. An inspection will show whether contamination or mechanical problems are the real cause.
Air CareSaver has served homeowners and businesses in the Walnut and San Gabriel Valley for over 21 years, under license #1054832. Our family-owned team offers same-day response and free estimates. If your rooms still run hot after these steps, [Get My Free Quote] and we'll inspect your ducts and show you exactly what needs fixing.