 how-to
How to Clean Dirty AC Evaporator Coils: DIY Steps
Table of Contents
- Why Evaporator Coils Need Regular Cleaning
- Signs of a Dirty Evaporator Coil You Should Know
- What You'll Need Before Starting
- Step-by-Step Guide to Cleaning Your AC Evaporator Coil
- How Often to Clean AC Evaporator Coils
- Evaporator Coil Cleaning Cost and When to Call a Professional
- Common Mistakes to Avoid When Cleaning Evaporator Coils
- Frequently Asked Questions
Last Updated: October 9, 2026
Why Evaporator Coils Need Regular Cleaning
Your air conditioner's evaporator coil is the hidden workhorse of your cooling system. Located inside your indoor unit, this coil absorbs heat from your home and transfers it outside. When it gets dirty, your AC struggles to do its job.
Over time, dust, lint, and debris accumulate on the coil's surface. This buildup acts like a blanket, blocking airflow and reducing cooling efficiency. Your system runs longer to reach the temperature you want, which drives up energy costs.
A dirty evaporator coil also creates the perfect environment for mold and mildew growth. These organisms thrive in the moist, cool conditions inside your unit. Beyond comfort, this affects indoor air quality and can trigger allergies or respiratory issues.
Regular cleaning prevents expensive breakdowns. A clean coil keeps your system running smoothly and extends its lifespan by years.
Signs of a Dirty Evaporator Coil You Should Know
Recognizing the warning signs of a dirty evaporator coil helps you catch problems early. Here's what to watch for:
Your AC isn't cooling as well as it should. The air coming from your vents feels warm or barely cool. You set the thermostat lower, but the system can't keep up. This is often the first sign of a clogged coil.
Your energy bills spike without explanation. A dirty coil forces your system to work overtime. You'll notice higher cooling costs month after month, even if you're using the AC the same way.
Water pools near your indoor unit. The condensate drain pan overflows or the drain line backs up. This happens when dirt blocks the drain system. Water damage can follow if you ignore it.
You smell musty odors when the AC runs. Mold and mildew growing on the coil release that stale, unpleasant smell. It spreads through your home every time the system cycles.
The system cycles on and off frequently. Short cycling means the compressor turns on, reaches the set temperature quickly, then shuts off. It repeats this pattern constantly. A dirty coil causes this inefficient behavior.
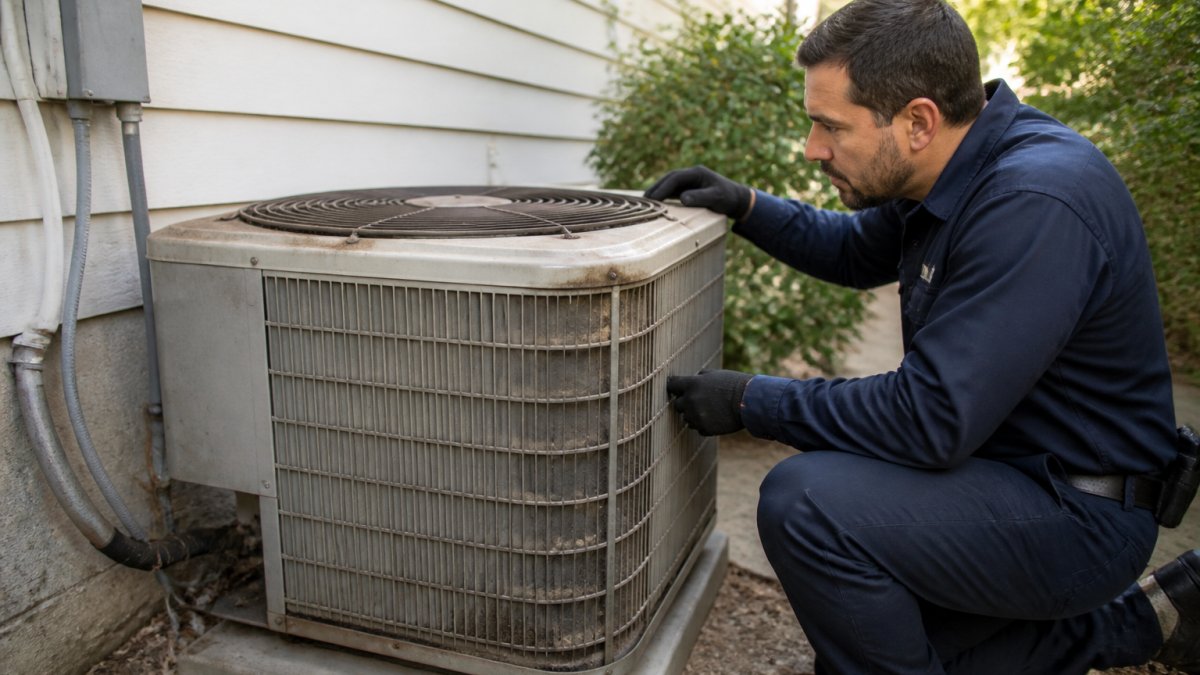
Frost or ice forms on the outdoor unit. This happens when the indoor coil is so clogged that airflow drops dangerously low. The system freezes up, and cooling stops entirely.
What You'll Need Before Starting
Gather these items before you begin how to clean dirty ac evaporator coils work:
- Screwdriver (Phillips and flat-head)
- Soft-bristle brush or nylon brush
- Shop vacuum with brush attachment
- AC coil cleaner spray (foaming or liquid type)
- Spray bottle with distilled water
- Towels or rags
- Flashlight (to see inside the unit)
- Safety glasses
- Work gloves
Choose a coil cleaner designed for HVAC systems. These products dissolve oils, dirt, and buildup without damaging the aluminum fins. Follow the product instructions carefully.
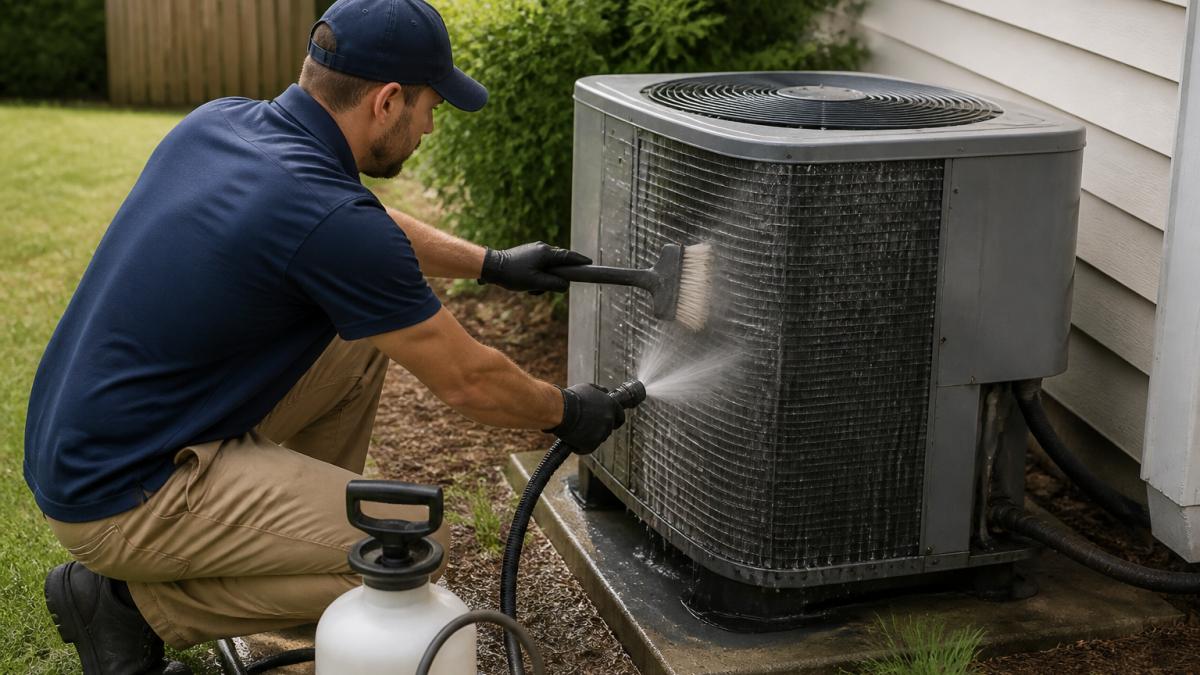
Never use harsh chemicals, pressure washers, or abrasive scrubbers. These damage the delicate fins and reduce cooling performance. Stick to gentle methods and appropriate cleaners.
Step-by-Step Guide to Cleaning Your AC Evaporator Coil
Learning how to clean dirty ac evaporator coils involves seven clear steps. Follow each one carefully to avoid damage and ensure safety.
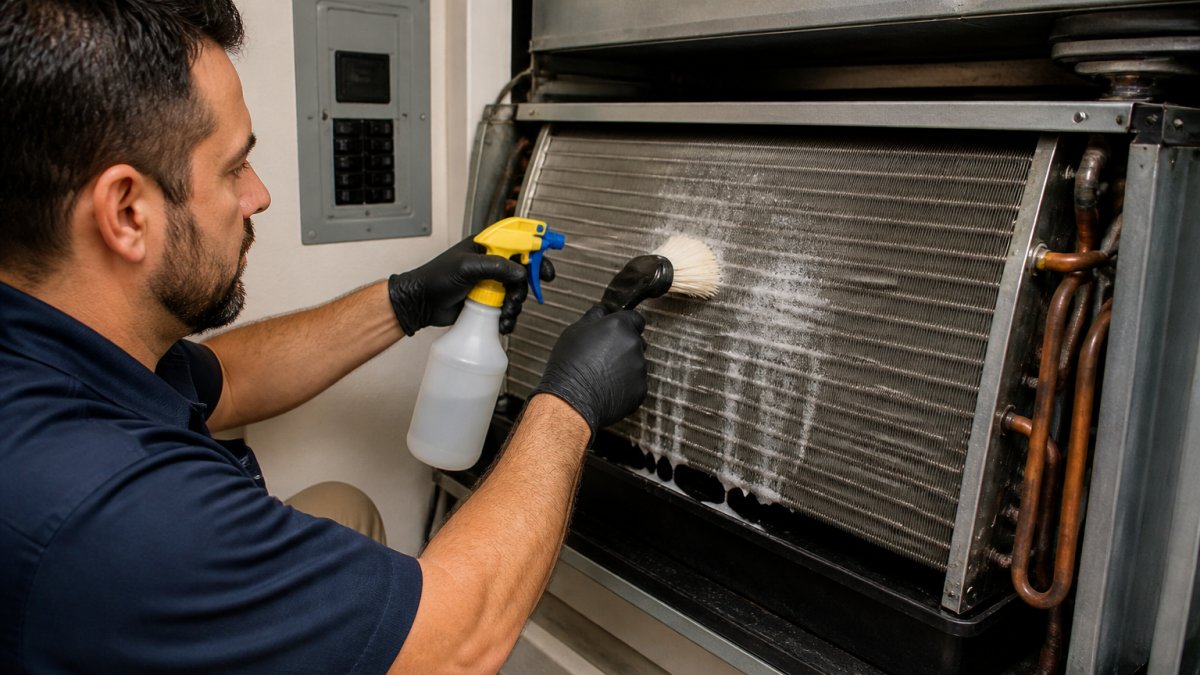
Step 1: Turn Off Power at the Breaker
Safety comes first. Before touching anything inside your AC unit, shut off the power completely.
Locate your electrical breaker panel. Find the breaker labeled for your air conditioning system. Switch it to the OFF position. Test the unit to confirm power is off by pressing the thermostat, nothing should happen.
This step prevents electrical shock and protects you from moving parts. Never skip it, even if you're in a hurry.
Step 2: Access the Evaporator Coil Panel
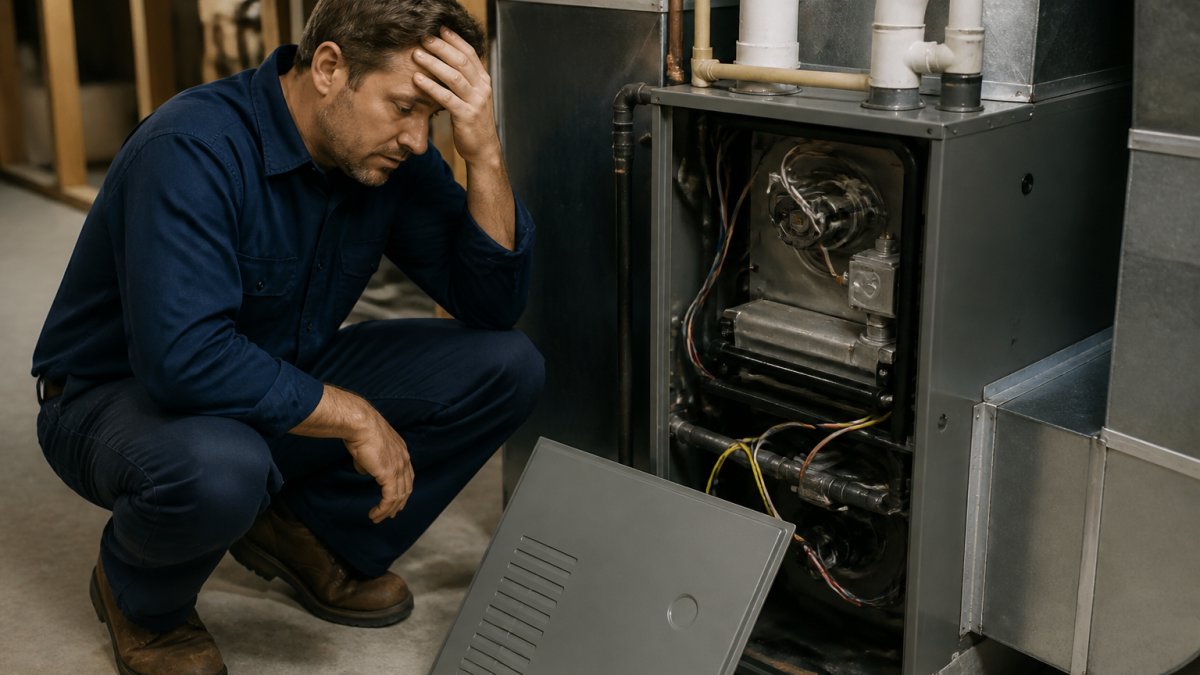
Your evaporator coil sits inside the indoor unit, usually in a cabinet or closet. You need to remove the access panel to reach it.
Look for a removable cover or door on your indoor unit. It's typically held by screws or clips. Use your screwdriver to carefully remove these fasteners. Set them aside in a safe place.
Gently lift or slide the panel away. Take a photo with your phone so you remember how it goes back together. Inside, you'll see the coil, a series of metal tubes with thin aluminum fins.
Step 3: Inspect the Coil for Dirt and Damage
Before you start cleaning, examine the coil closely. Use your flashlight to see all areas.
Look for visible dirt, dust, and lint trapped between the fins. Check for any bent or flattened fins. Note any green or black spots, which indicate mold or mildew.
If the coil is extremely clogged or damaged, or if you see significant mold growth, call a professional. Air CareSaver technicians can handle complex situations safely and thoroughly.
Step 4: Remove Loose Debris
Start with the gentlest method. Use your shop vacuum with the brush attachment to remove loose dust and lint.
Hold the brush gently against the coil surface. Move slowly and carefully across the fins. Avoid pressing hard or scrubbing, which can bend the delicate fins. Vacuum both sides of the coil if you can access them.
Remove as much loose debris as possible this way. This makes the next cleaning steps more effective.
Step 5: Clean with a Soft Brush and Coil Cleaner
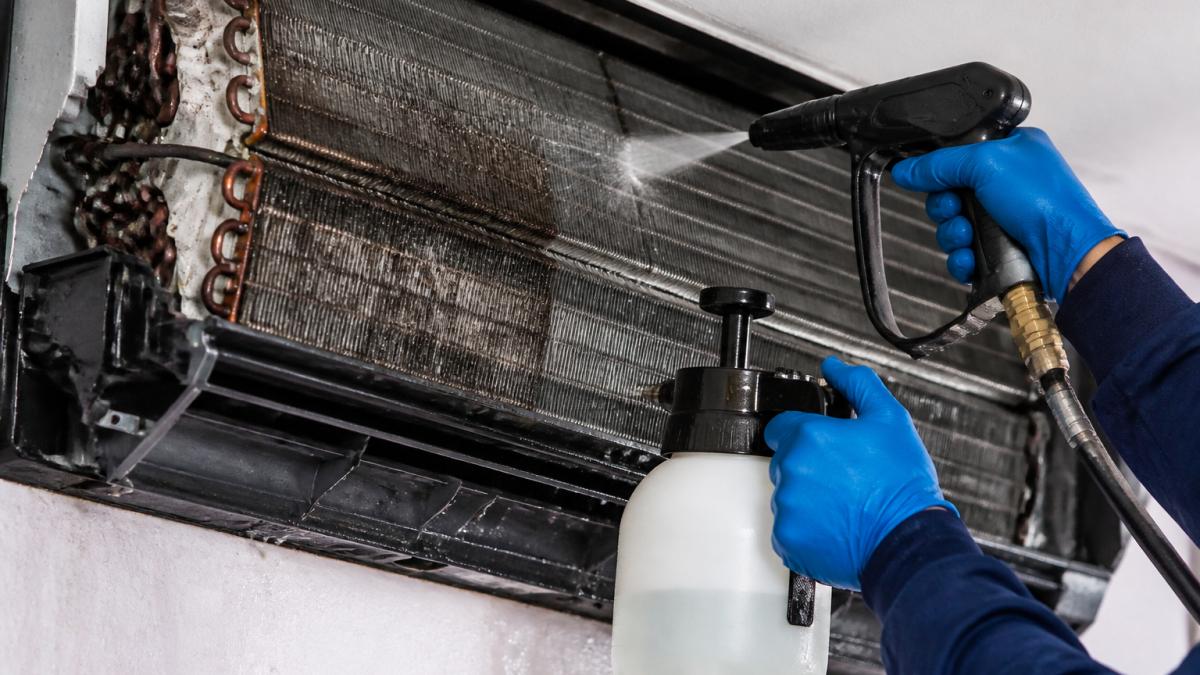
Now apply your AC coil cleaner. Read the product label for mixing instructions and safety warnings.
Spray the cleaner evenly across the coil surface. Let it sit for the time recommended on the label, usually 10 to 15 minutes. The foam or liquid breaks down oils and stubborn buildup.
Use your soft-bristle brush to gently scrub the coil. Work in one direction across the fins. Apply light pressure. Do not scrub aggressively or use a wire brush.
For flattened fins, use a fin comb carefully to straighten them. These tools are designed for this purpose and prevent further damage.
Step 6: Rinse and Check the Drain Pan
Rinse away the cleaner and loosened debris with distilled water. Use your spray bottle to apply water gently across the coil. Direct the water downward so it drains into the pan below.
Inspect the condensate drain pan. It should be clean and dry (except for water from rinsing). If you see standing water, dirt, or mold, clean the pan and drain line.
Pour distilled water slowly down the drain line opening. It should flow freely. If water backs up, the line is clogged. You may need a professional to clear it using a wet vacuum or drain cleaner.
Step 7: Reinstall the Panel and Restore Power
Let the coil air dry completely before closing the unit. Wait at least 30 minutes. This prevents trapping moisture inside.
Carefully slide the access panel back into place. Reinstall all screws or clips. Make sure the panel sits flush and secure.
Return to your breaker panel. Switch the air conditioning breaker back to ON. Set your thermostat to cool mode and test the system. You should feel cold air from your vents within a few minutes.
How Often to Clean AC Evaporator Coils
How often to clean AC evaporator coils depends on your environment and usage. Most homeowners benefit from annual cleaning before the cooling season starts.
If you have pets, live in a dusty area, or run your AC constantly, clean the coil every six months. Homes with good air filters and moderate use can stretch cleaning to once per year.
Change your air filter every one to three months. A clean filter reduces dirt reaching the evaporator coil, extending the time between cleanings.
Consider professional maintenance if you notice any signs of a dirty evaporator coil returning quickly after cleaning. This suggests a deeper issue with airflow or filtration.
Evaporator Coil Cleaning Cost and When to Call a Professional
DIY cleaning saves money, but some situations require professional help. Knowing when to call a technician prevents costly mistakes.
Call a professional if:
- The coil is severely clogged or frozen
- You see significant mold or mildew growth
- The condensate drain line is completely blocked
- You're uncomfortable working with electrical systems
- The access panel is difficult to remove or sealed
- Your system is still under warranty (DIY work may void it)
Professional technicians have specialized equipment and training. They can clean coils thoroughly, diagnose drainage problems, and identify underlying issues. Air CareSaver offers same-day response and free estimates, so you know costs upfront before any work begins.
Common Mistakes to Avoid When Cleaning Evaporator Coils
Learning how to clean dirty ac evaporator coils means avoiding pitfalls that damage your system.
Don't use a pressure washer. High-pressure water bends fins and forces water into electrical components. Stick to gentle spray bottles and soft brushes.
Don't skip the power-off step. Electrical shock is a real risk. Always turn off the breaker before touching anything inside the unit.
Don't use harsh chemicals or wire brushes. These damage the aluminum fins and coating. Use only HVAC-approved cleaners and soft brushes.
Don't force access panels or covers. If something doesn't come off easily, stop. Forcing it risks breaking clips or seals. Professional help is worth the cost.
Don't forget the drain pan and line. A clean coil means nothing if water backs up inside. Always inspect and clear the condensate system.
Don't ignore warning signs. If your AC still underperforms after cleaning, or if problems return within weeks, have a professional diagnose the issue. A deeper problem may exist.
Don't work on a running system. Always confirm power is off before starting. Test the thermostat to be absolutely sure.
Keeping your AC evaporator coil clean is one of the best investments in home comfort and efficiency. A well-maintained system runs smoothly, costs less to operate, and lasts longer. If you ever feel unsure about any step or encounter complications, Air CareSaver's licensed technicians are ready to help. We provide accurate diagnostics without unnecessary upsells, same-day response, and free estimates to get your system running at peak performance. Contact us today for professional maintenance that keeps your home comfortable year-round.
Frequently Asked Questions
How do I know if my evaporator coil is dirty?
Signs of a dirty evaporator coil include reduced cooling performance, warm air coming from vents, ice buildup on the indoor unit, musty odors, and visible dust or grime on the coil fins. If your AC is running but not cooling your home effectively, a dirty coil is often the culprit. You can visually inspect the coil once you remove the access panel, dirt and debris will be visible on the metal fins.
Can I clean my AC evaporator coil myself?
Yes, you can clean surface dirt and debris from your evaporator coil yourself if you follow safety precautions carefully. Turn off power at the breaker, access the coil, and use a soft-bristle brush and appropriate coil cleaner. However, if the coil is severely clogged, damaged, or if you're uncomfortable working with electrical components, hire a professional HVAC technician. DIY cleaning works best for preventative maintenance when buildup is light.
What is the best cleaner for AC evaporator coils?
Use a coil-cleaning spray or foam specifically formulated for AC evaporator coils, these are pH-balanced to avoid damaging aluminum fins. Avoid harsh chemicals, bleach, or vinegar, which can corrode the coil or harm the system. Always follow the manufacturer's instructions on the product label. Many homeowners find commercial AC coil cleaners effective for light to moderate buildup. For heavy contamination or mold, professional-grade cleaners applied by a technician are safer and more effective.
How often should evaporator coils be cleaned?
Most homeowners should have their evaporator coils inspected and cleaned every 1-2 years as part of routine maintenance. If you have pets, live in a dusty area, or use your AC heavily, aim for annual cleaning. Regular preventative cleaning prevents major buildup, keeps your system running efficiently, and extends the life of your equipment. Neglecting coil cleaning for years can lead to reduced cooling, higher energy bills, and costly repairs.